• LoopA
  • LoopA EN2 EN4 need replacing any advice?

Hi there,
I purchased a LoopA recently, unfortunately the EN2 & EN4 need to be replaced as the 2 knobs have snapped off whilst been shipped to me.
Any advice would be welcome please.
Will I need to purchase any other parts apart from the 2 encoders?
Is there much unsoldering to be done to get to the encoders?
I have watched parts of the LoopA build video & it looks as though it is something I could maybe do & looks as though there might be a bit of unsoldering involved.
Obviously, I would have to practice a bit first before attempting it.
How hard would it be for an absolute novice to complete this task?
I have included some pics if this helps.
Thank you in advance
Cheers


    Ouch - your poor LoopA! Good that you want to repair it!

    There are two ways to fix:

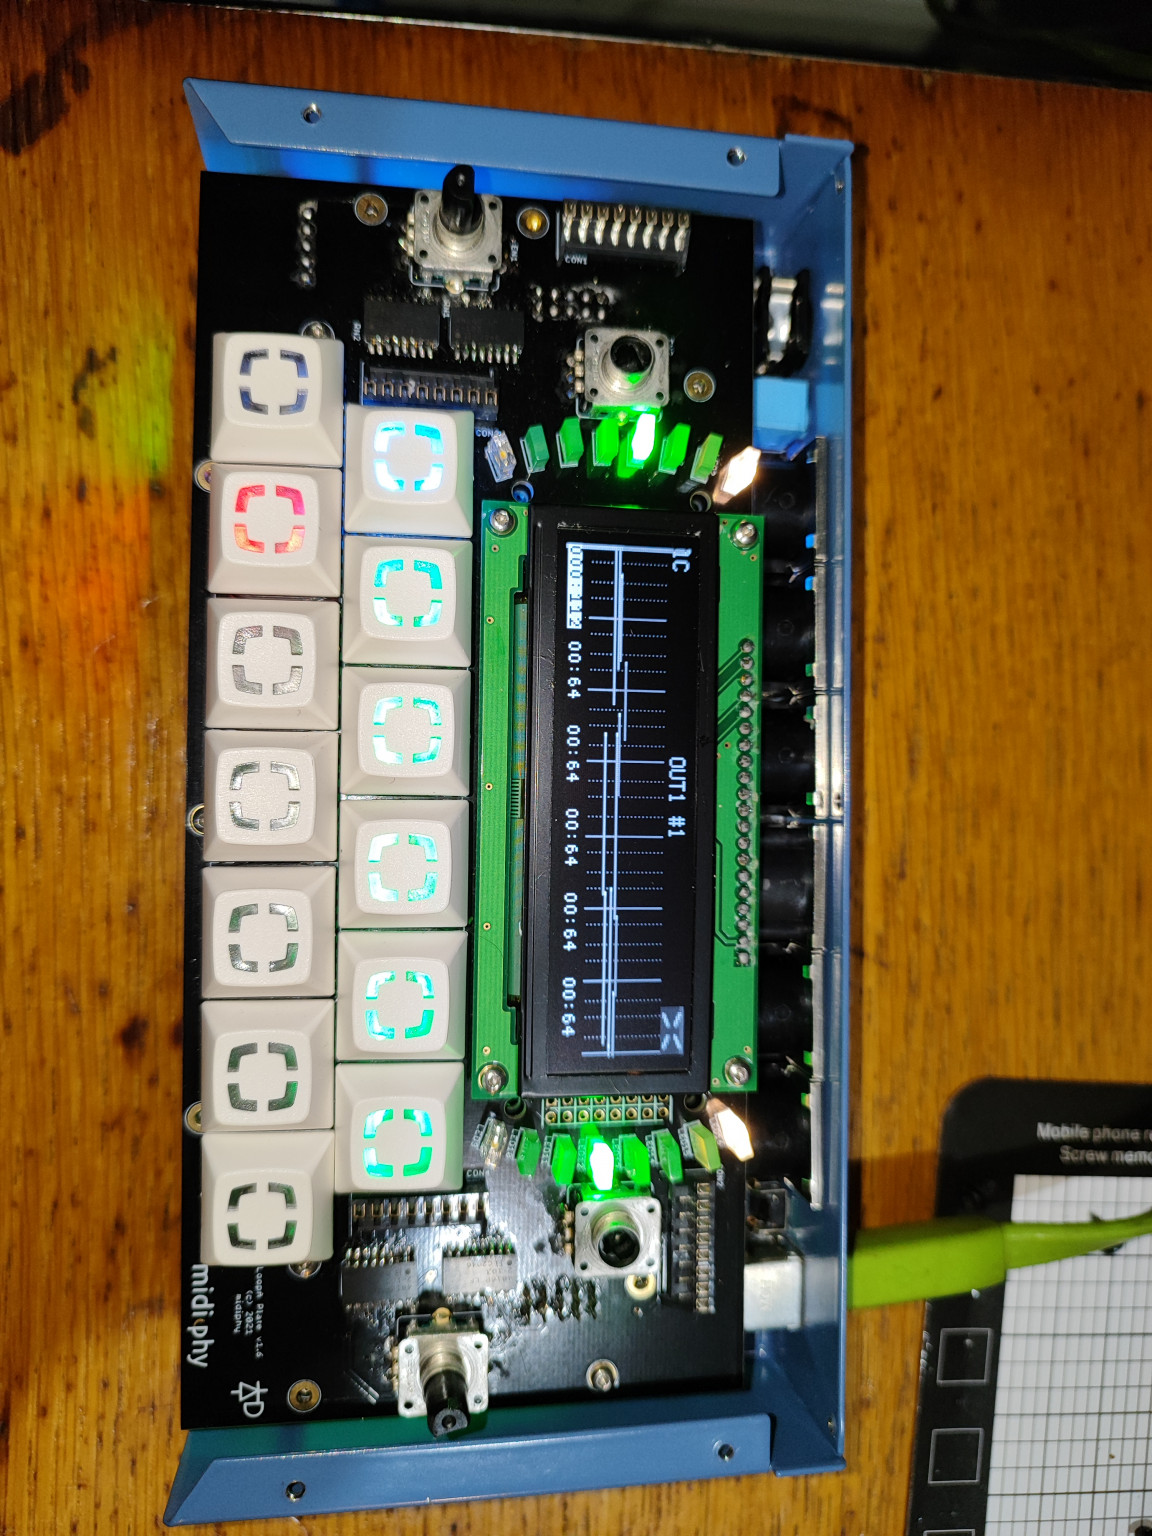
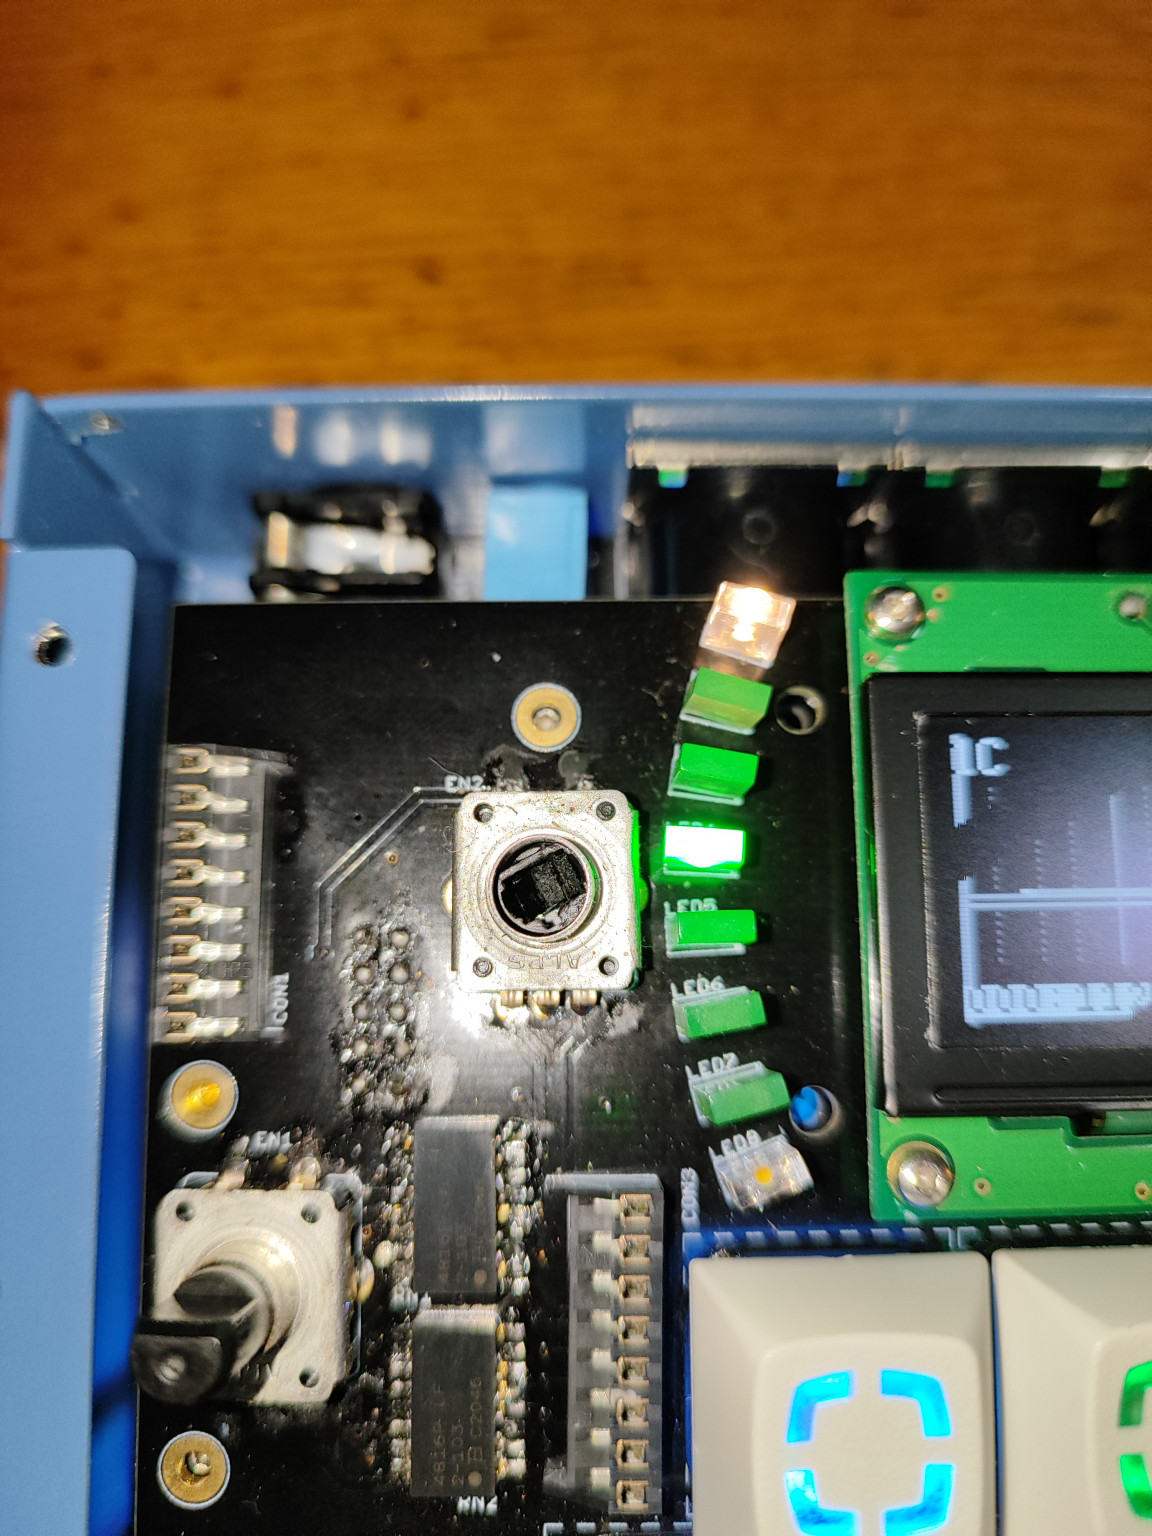
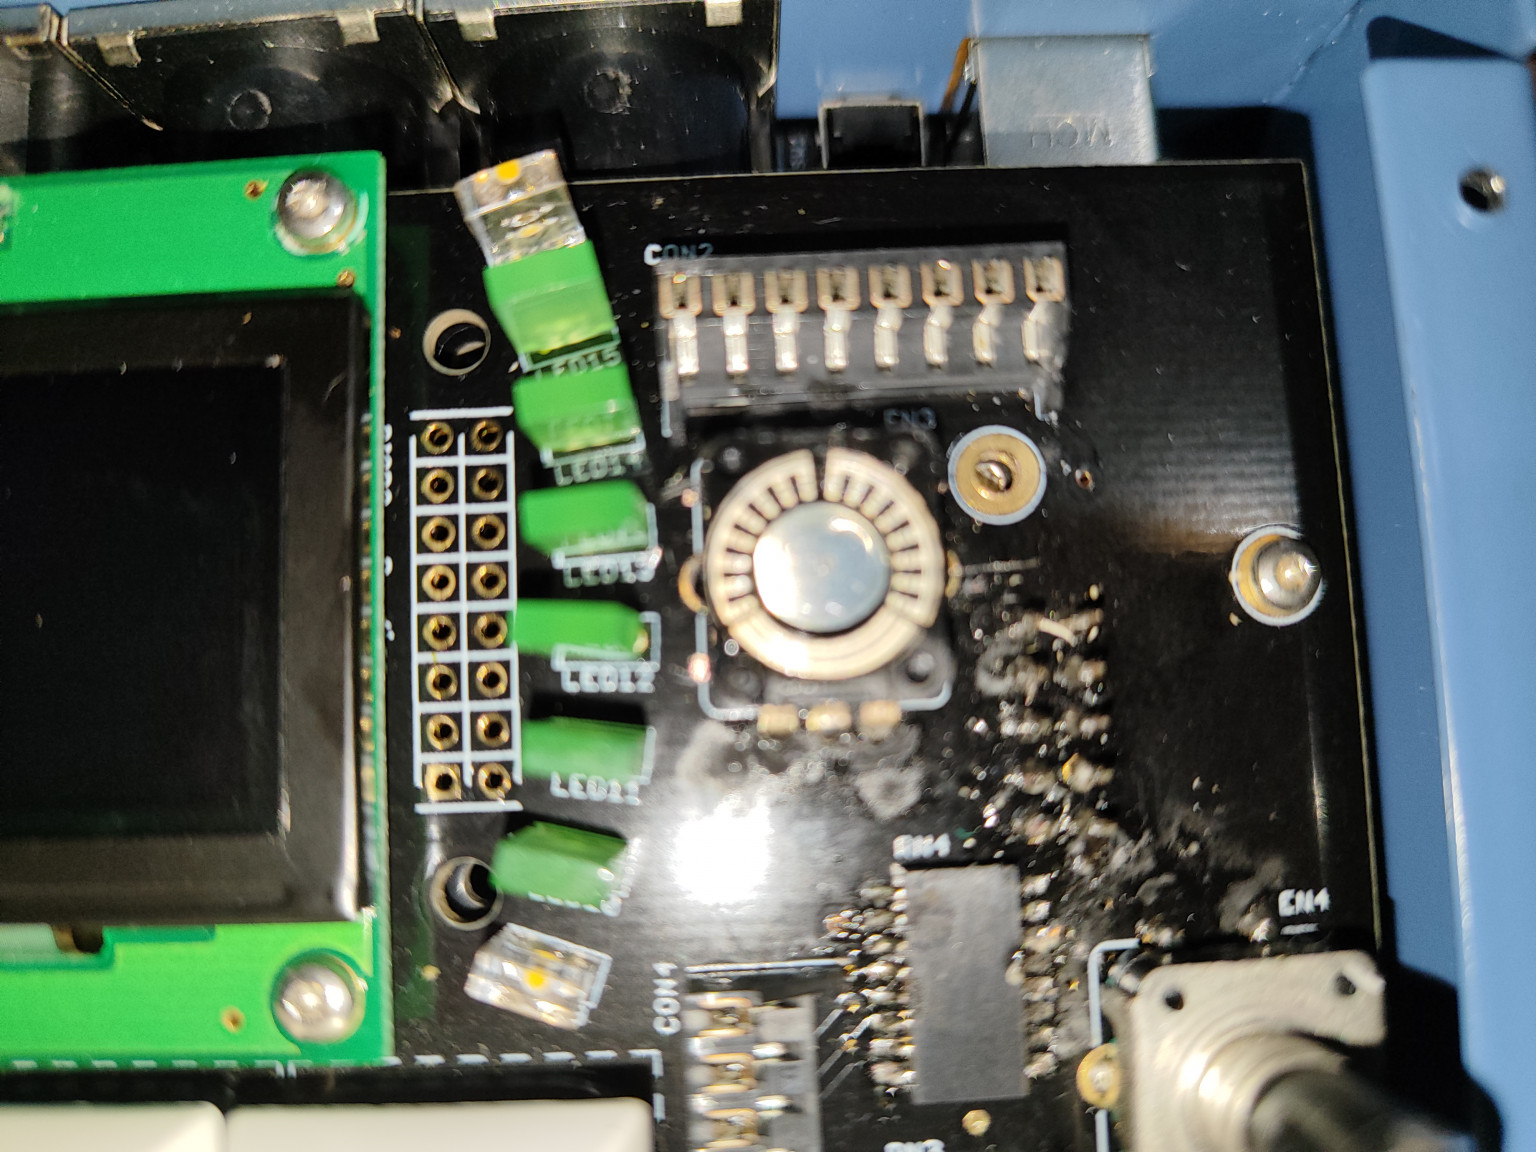
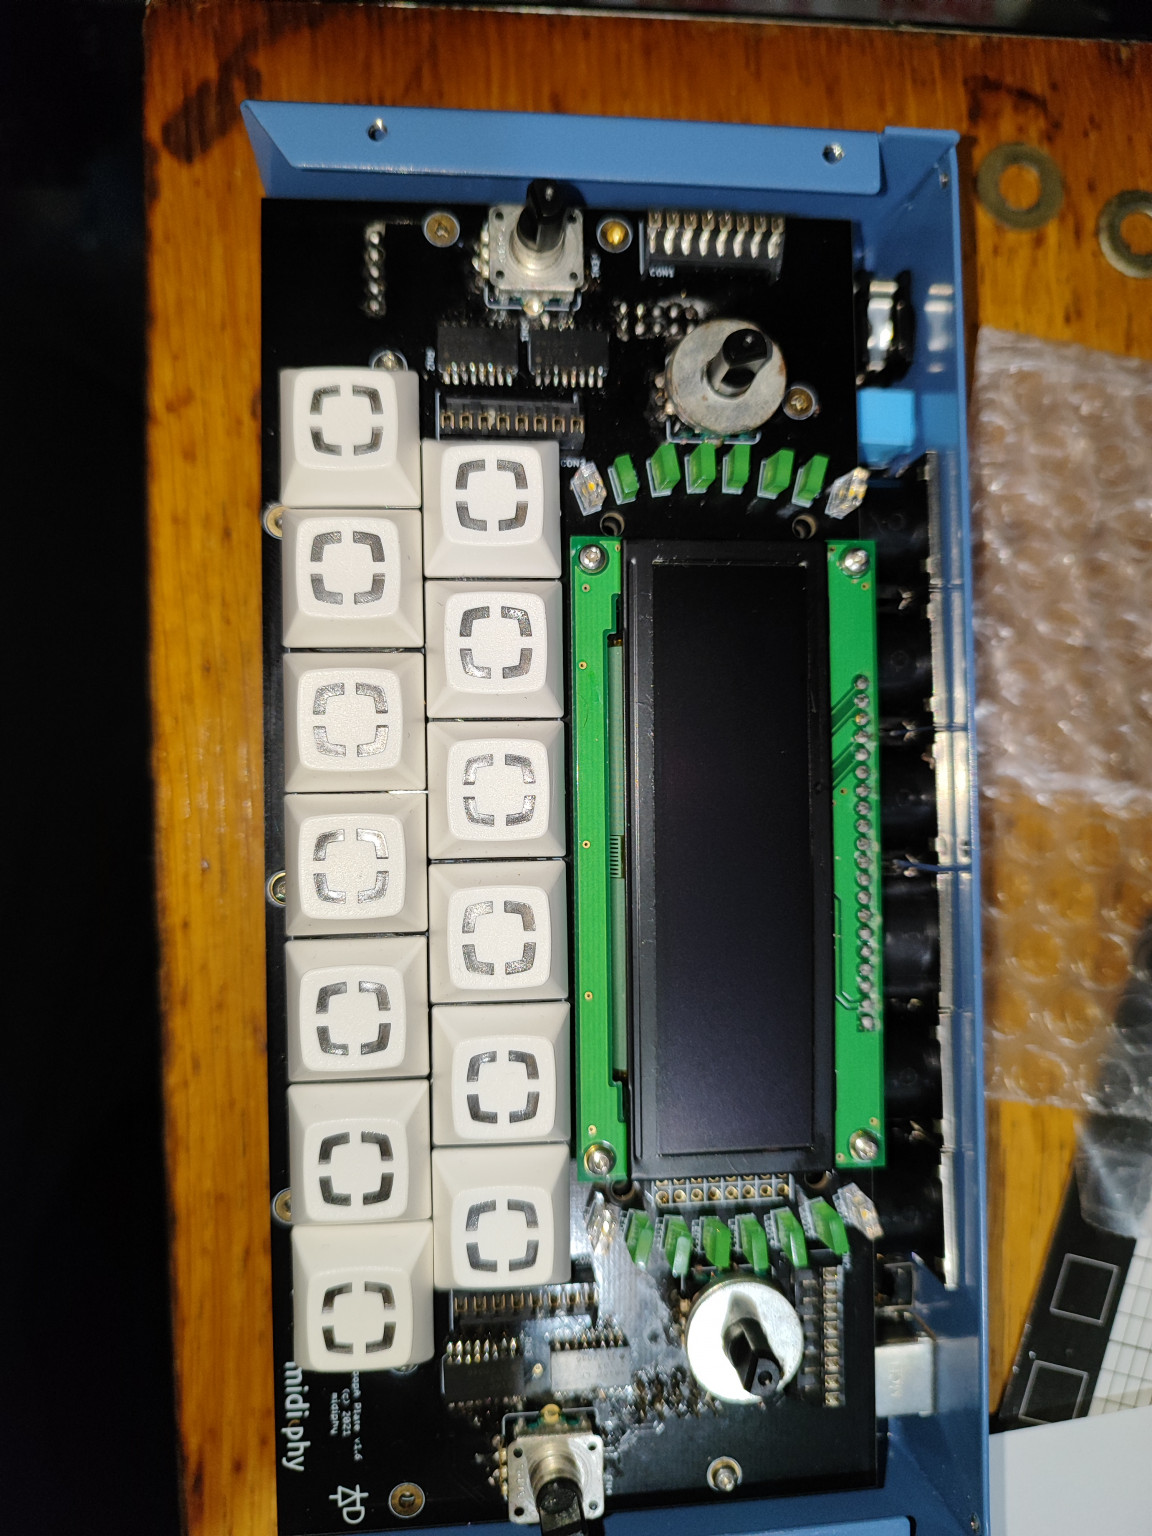
    a) the conventional way: remove the top two PCBs (see video tutorial), desolder all 13 matias switches from the back and remove them, then you you can unscrew the screws holding together the top two PCBs, then remove the top PCB, desolder the broken encoders (recommend to snip off their pins first) and solder in new ones.

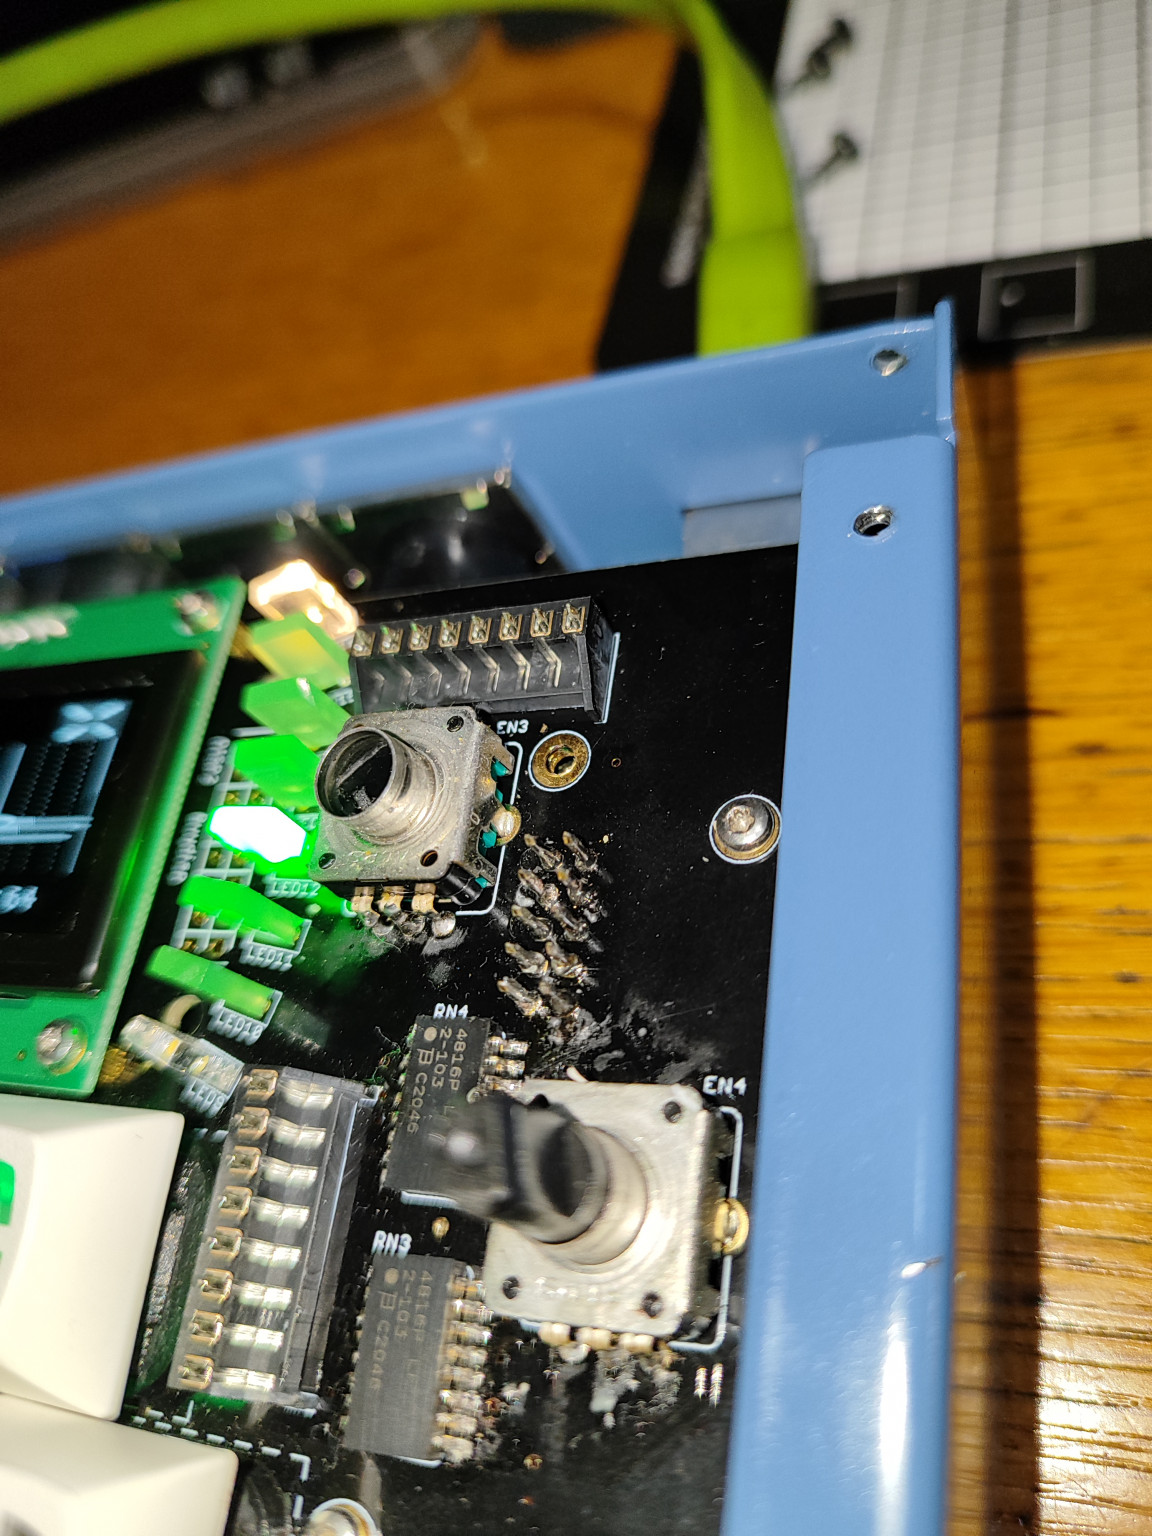
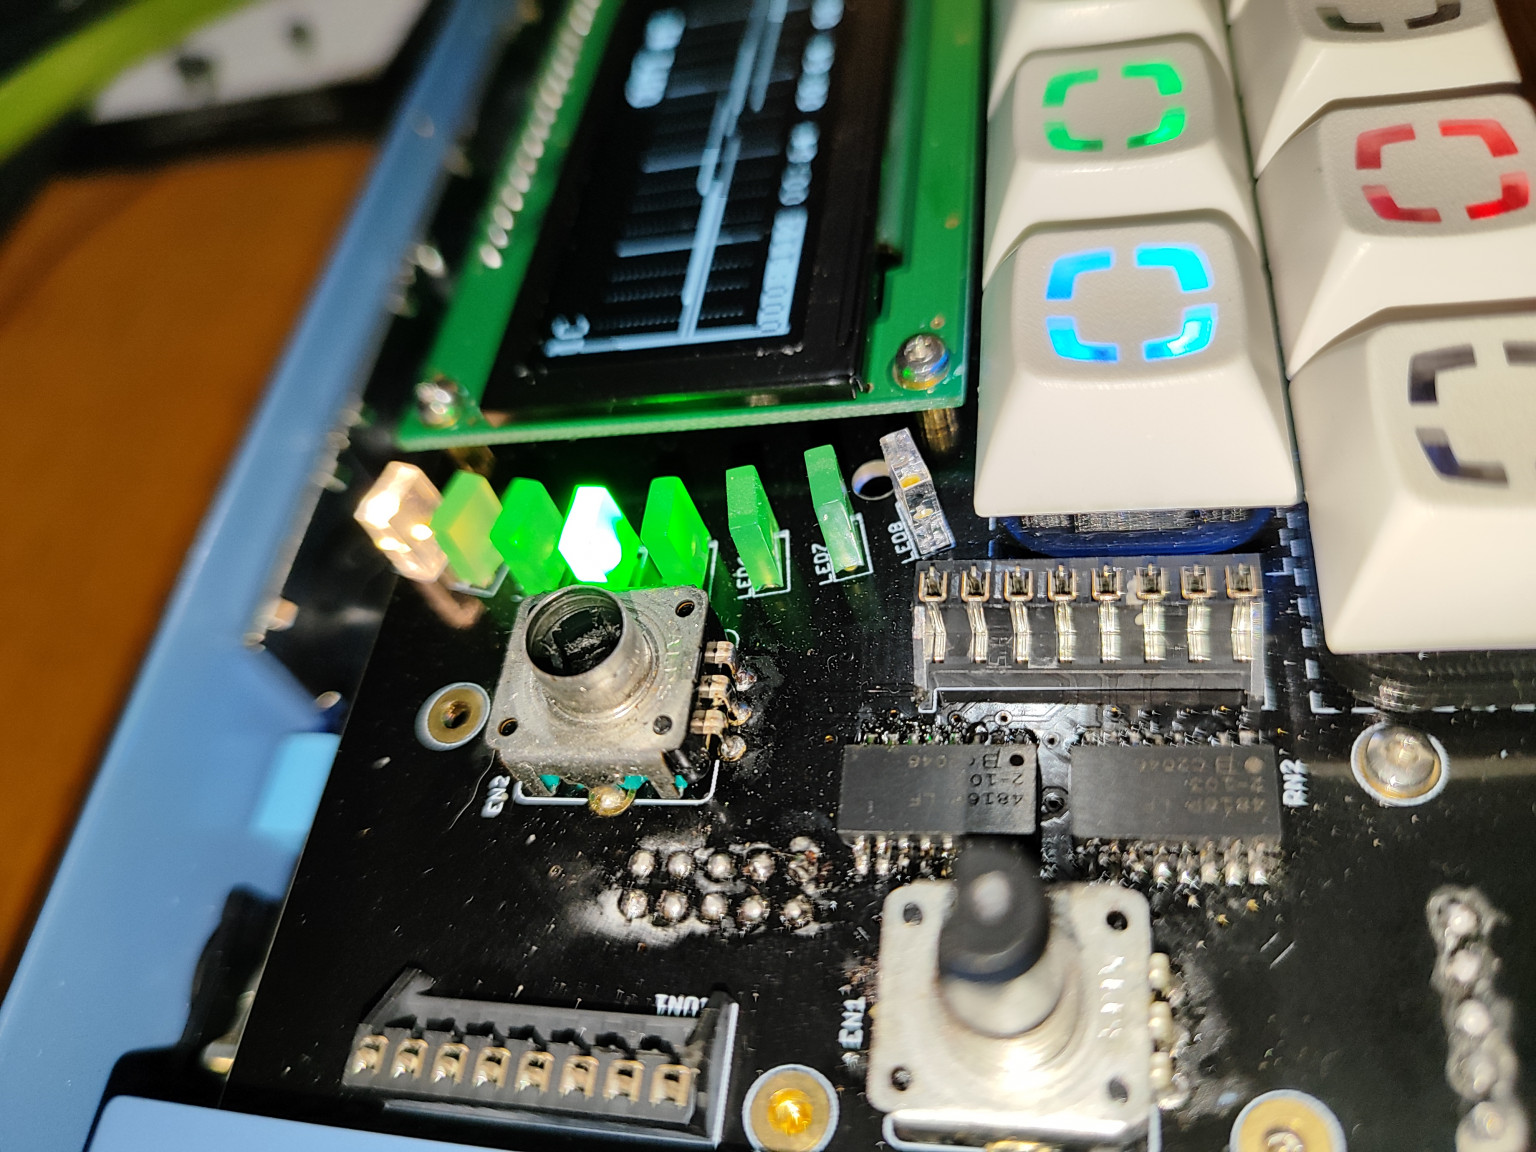
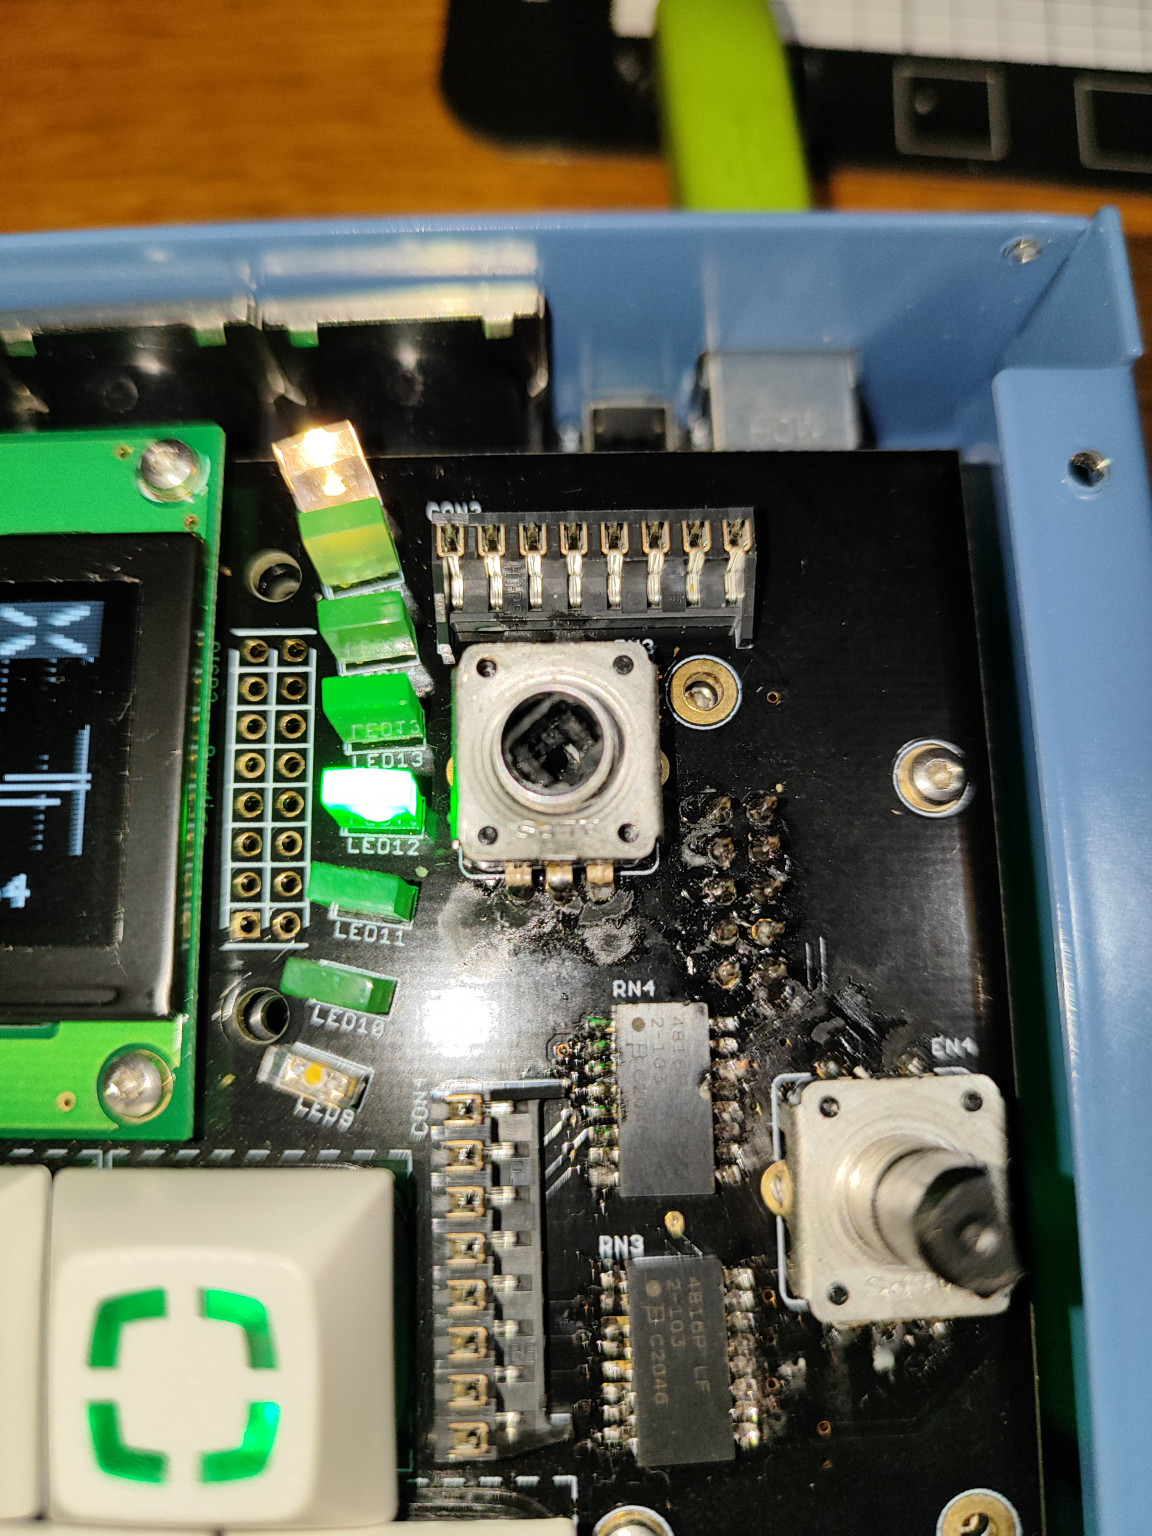
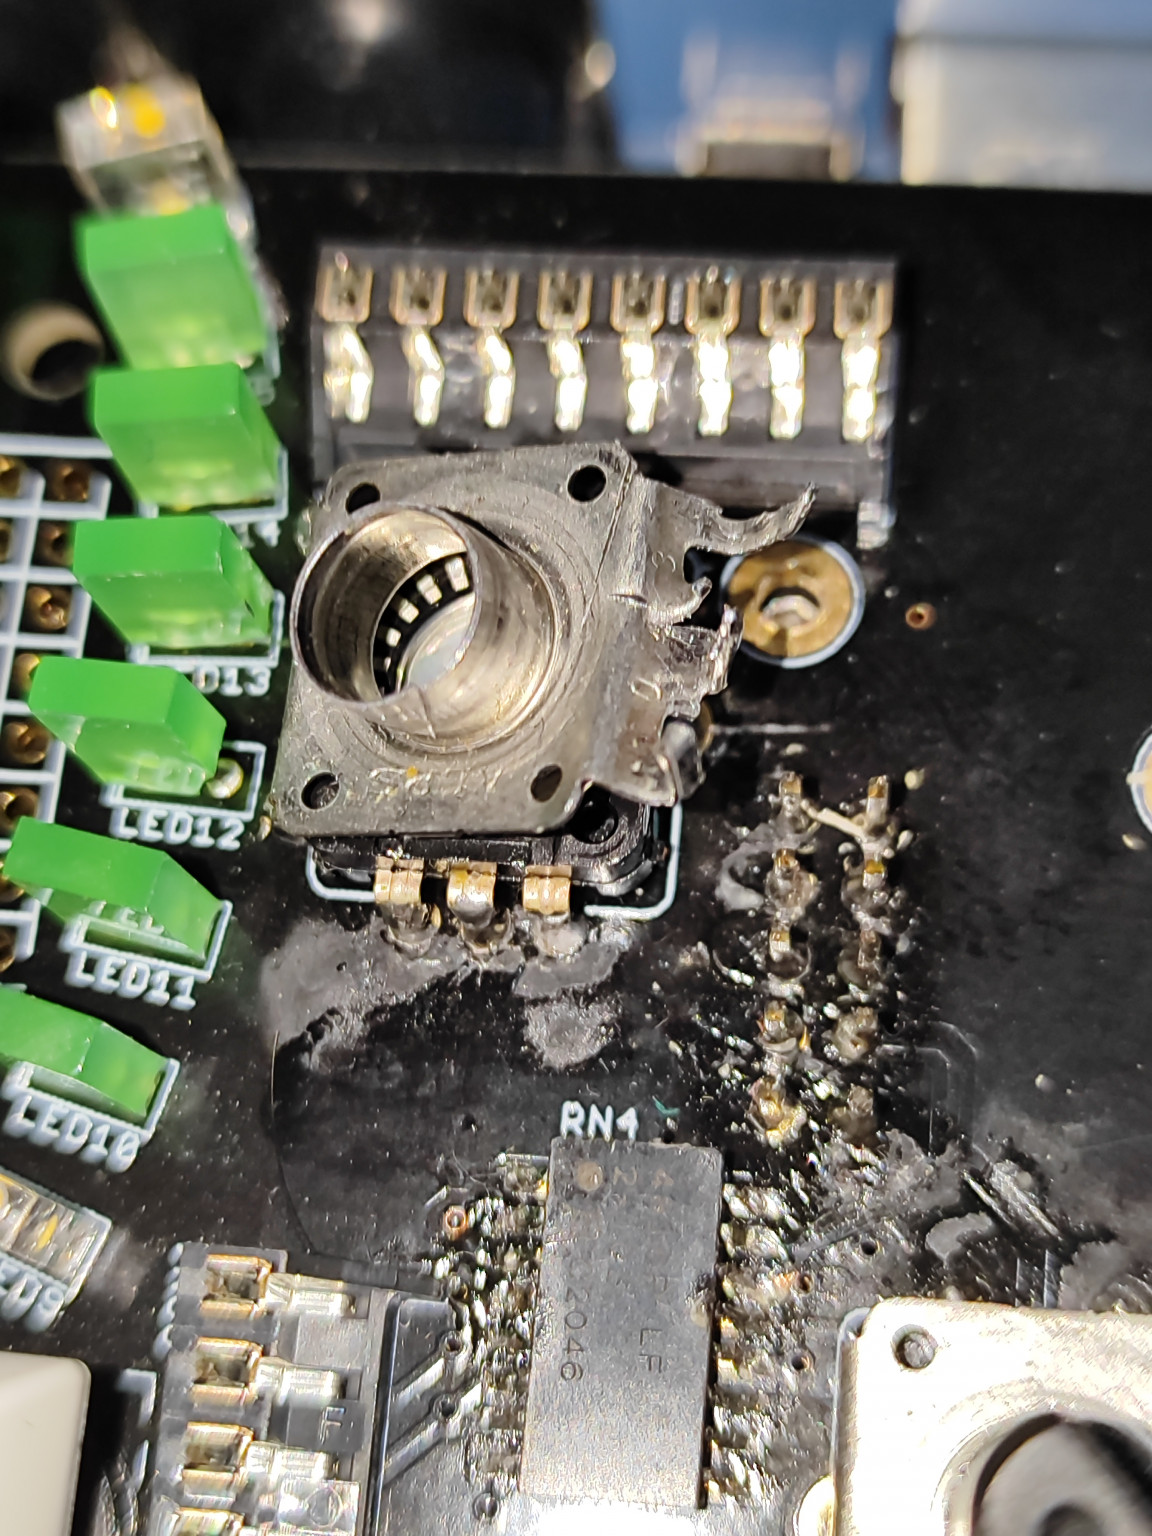
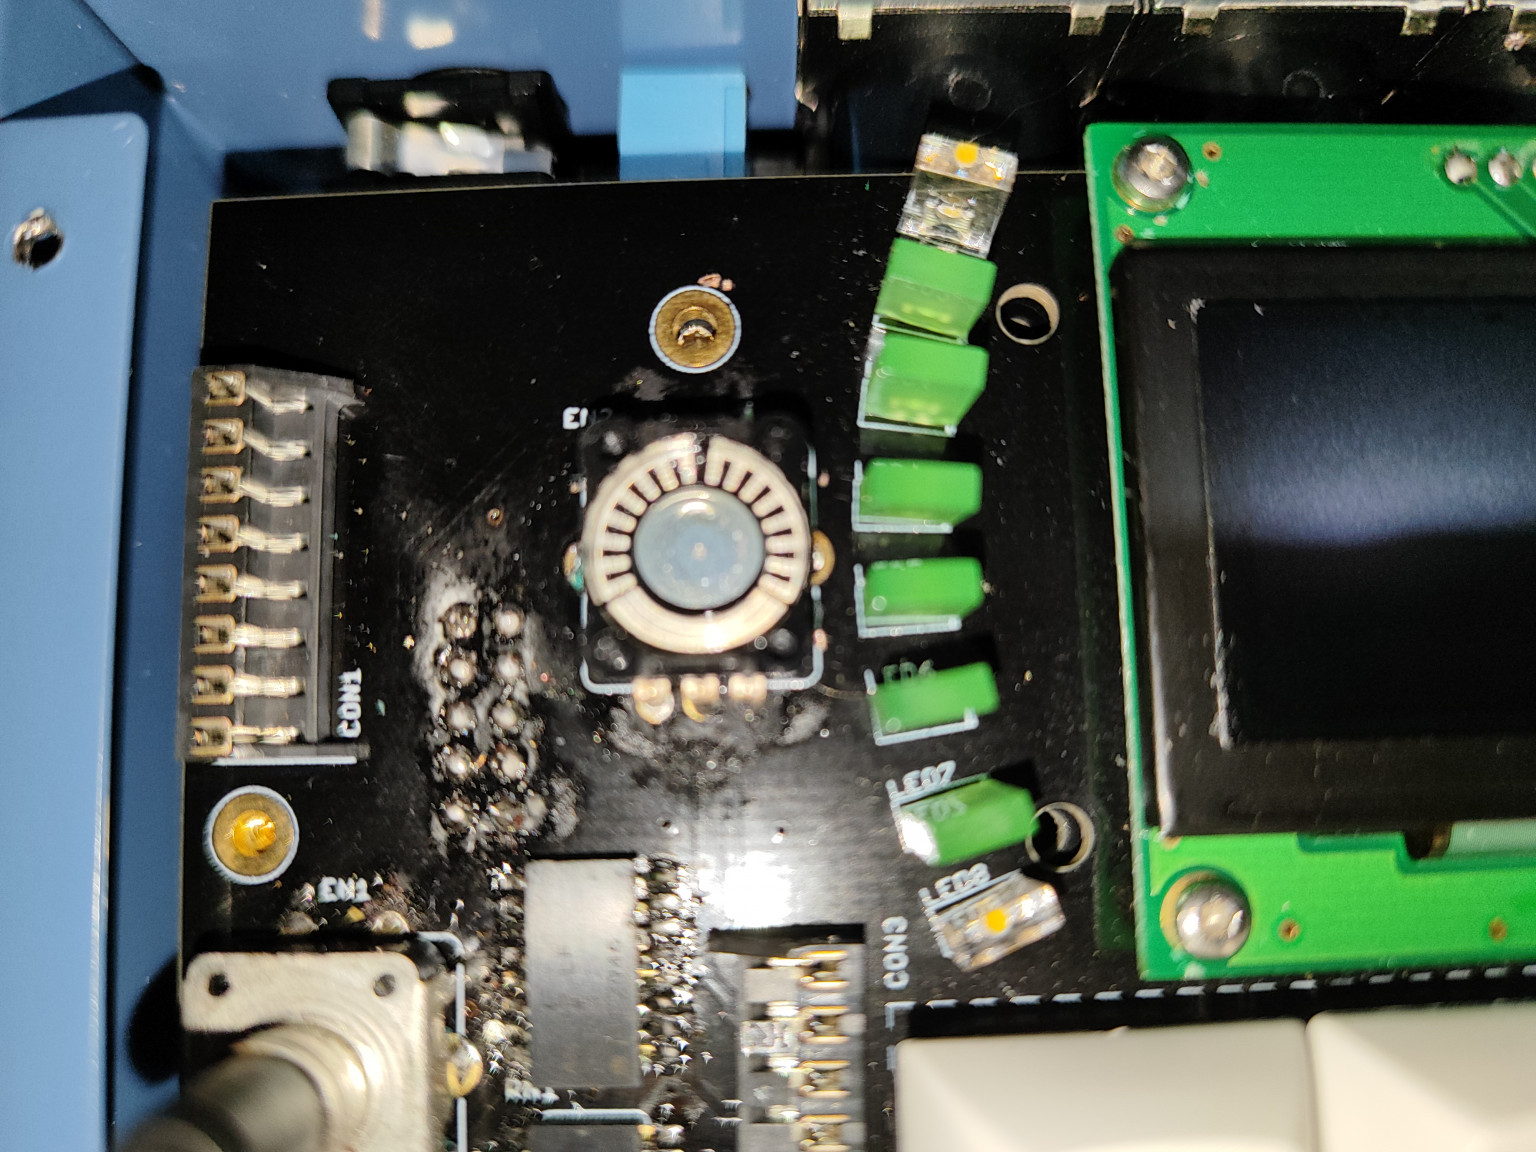
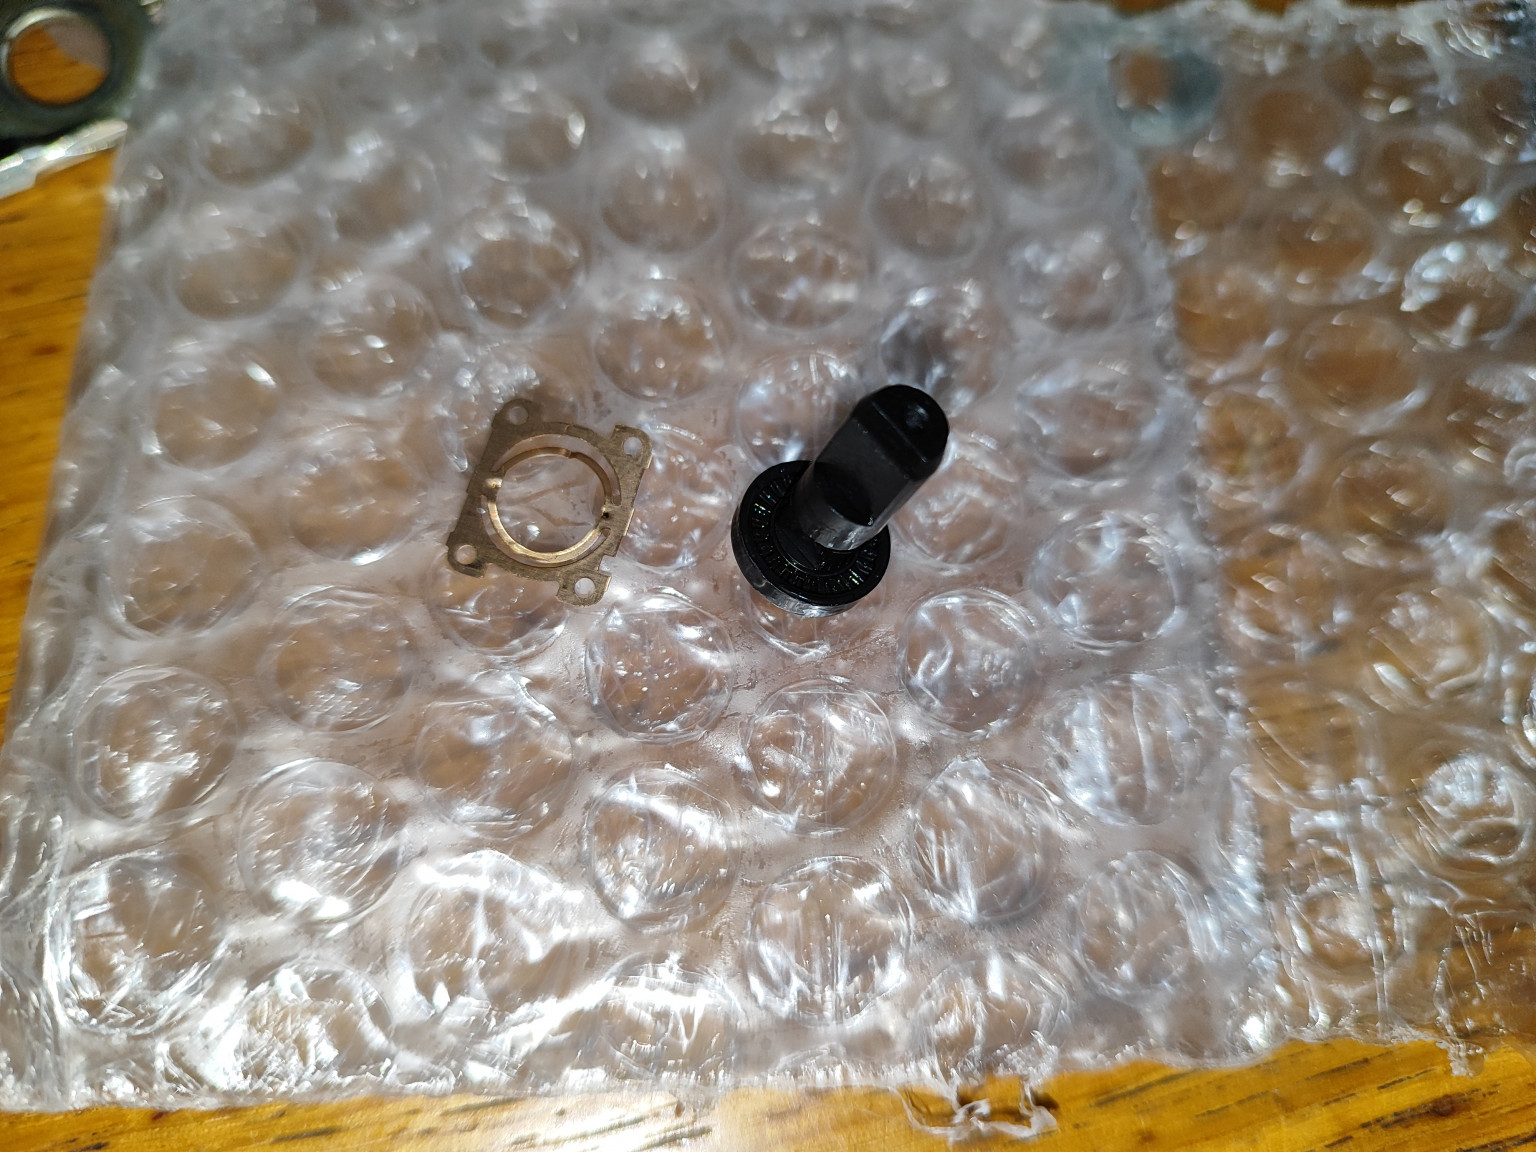
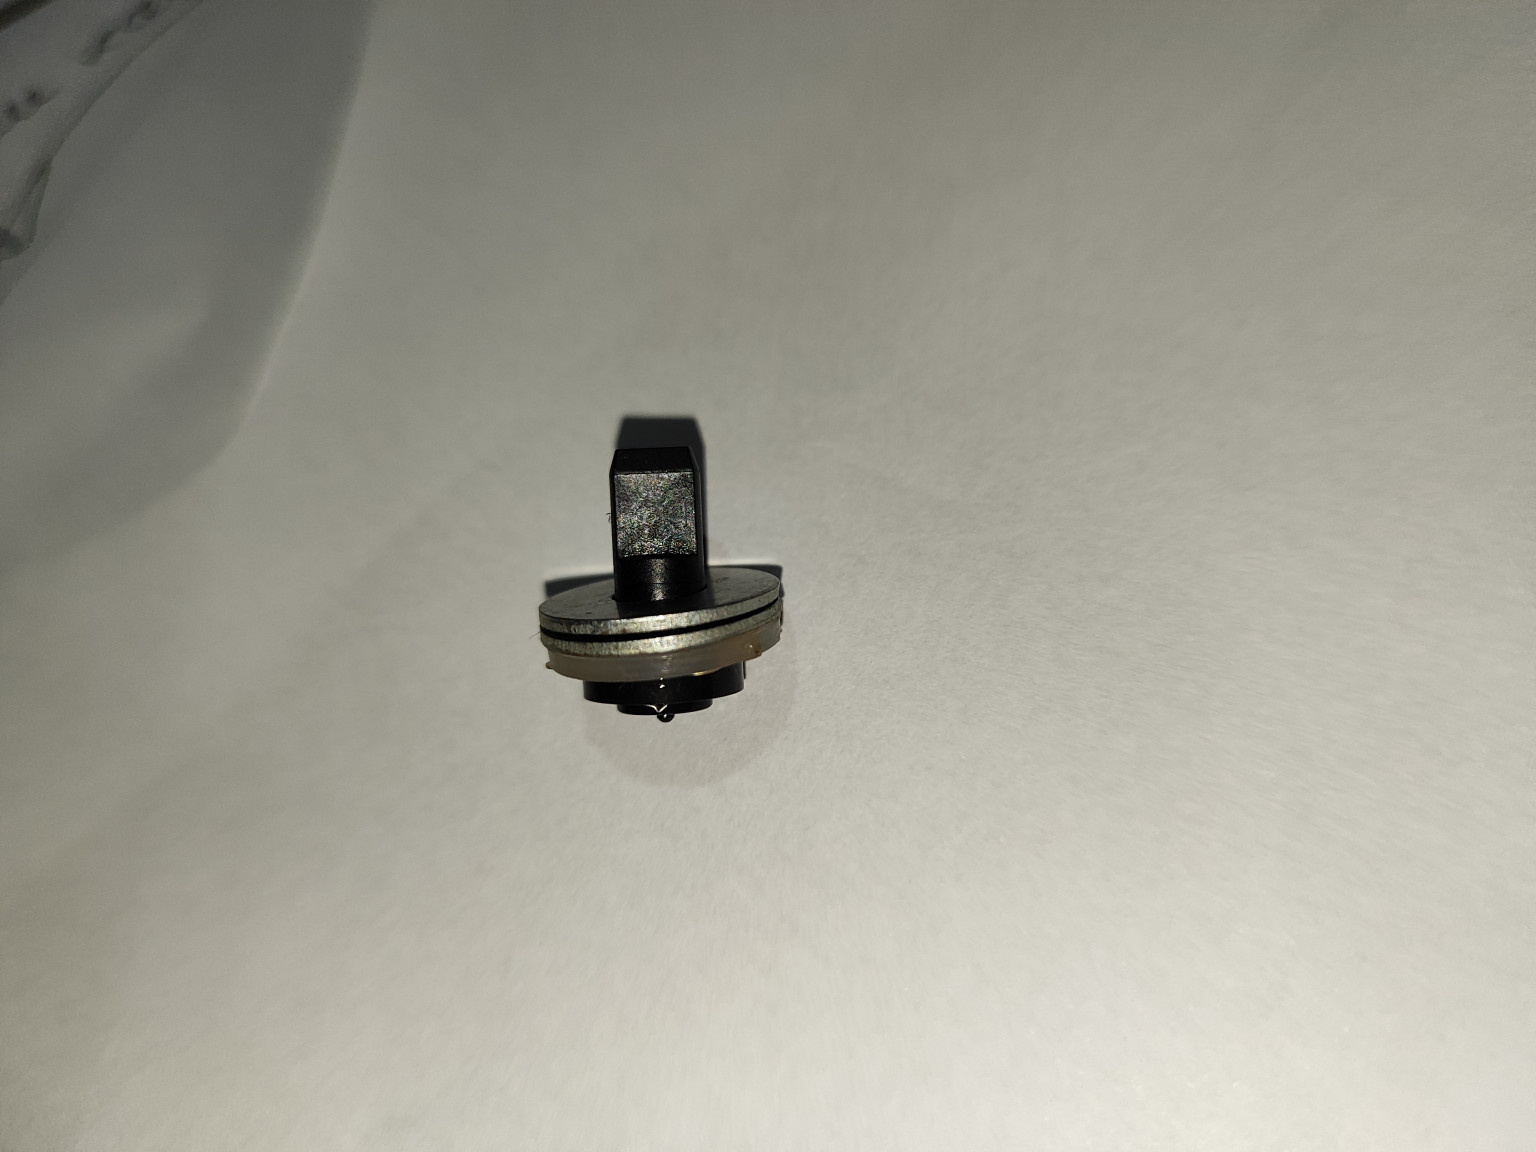
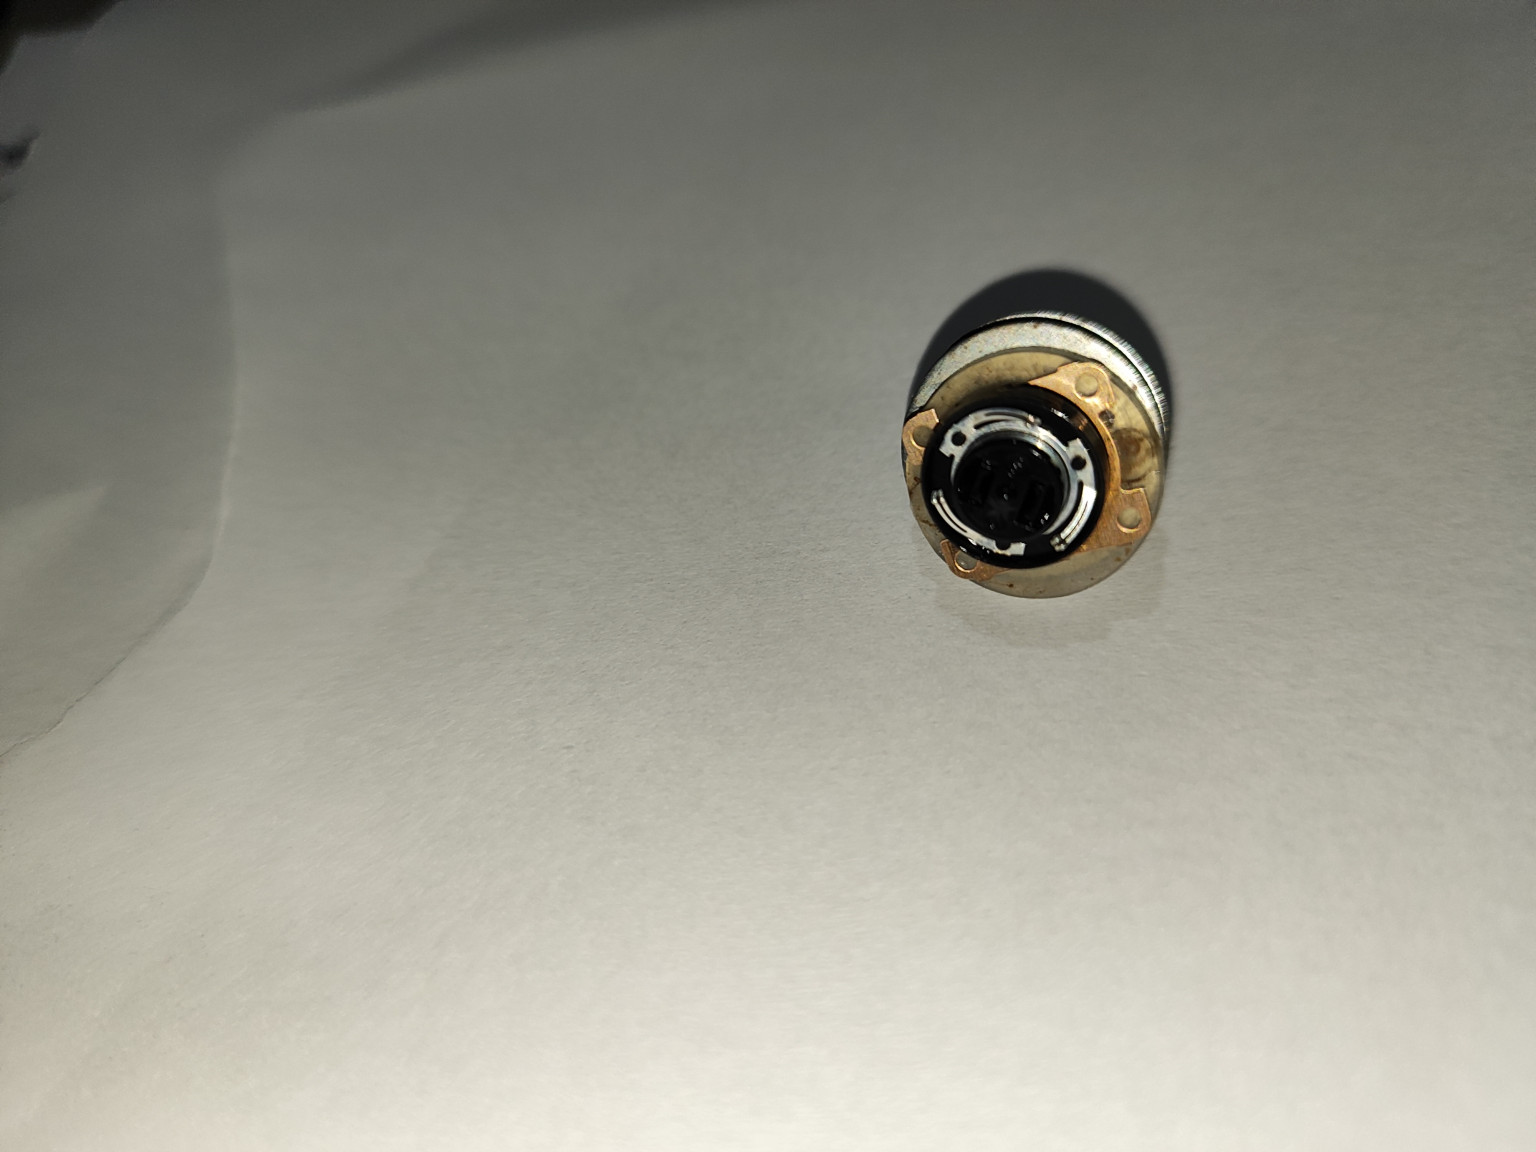
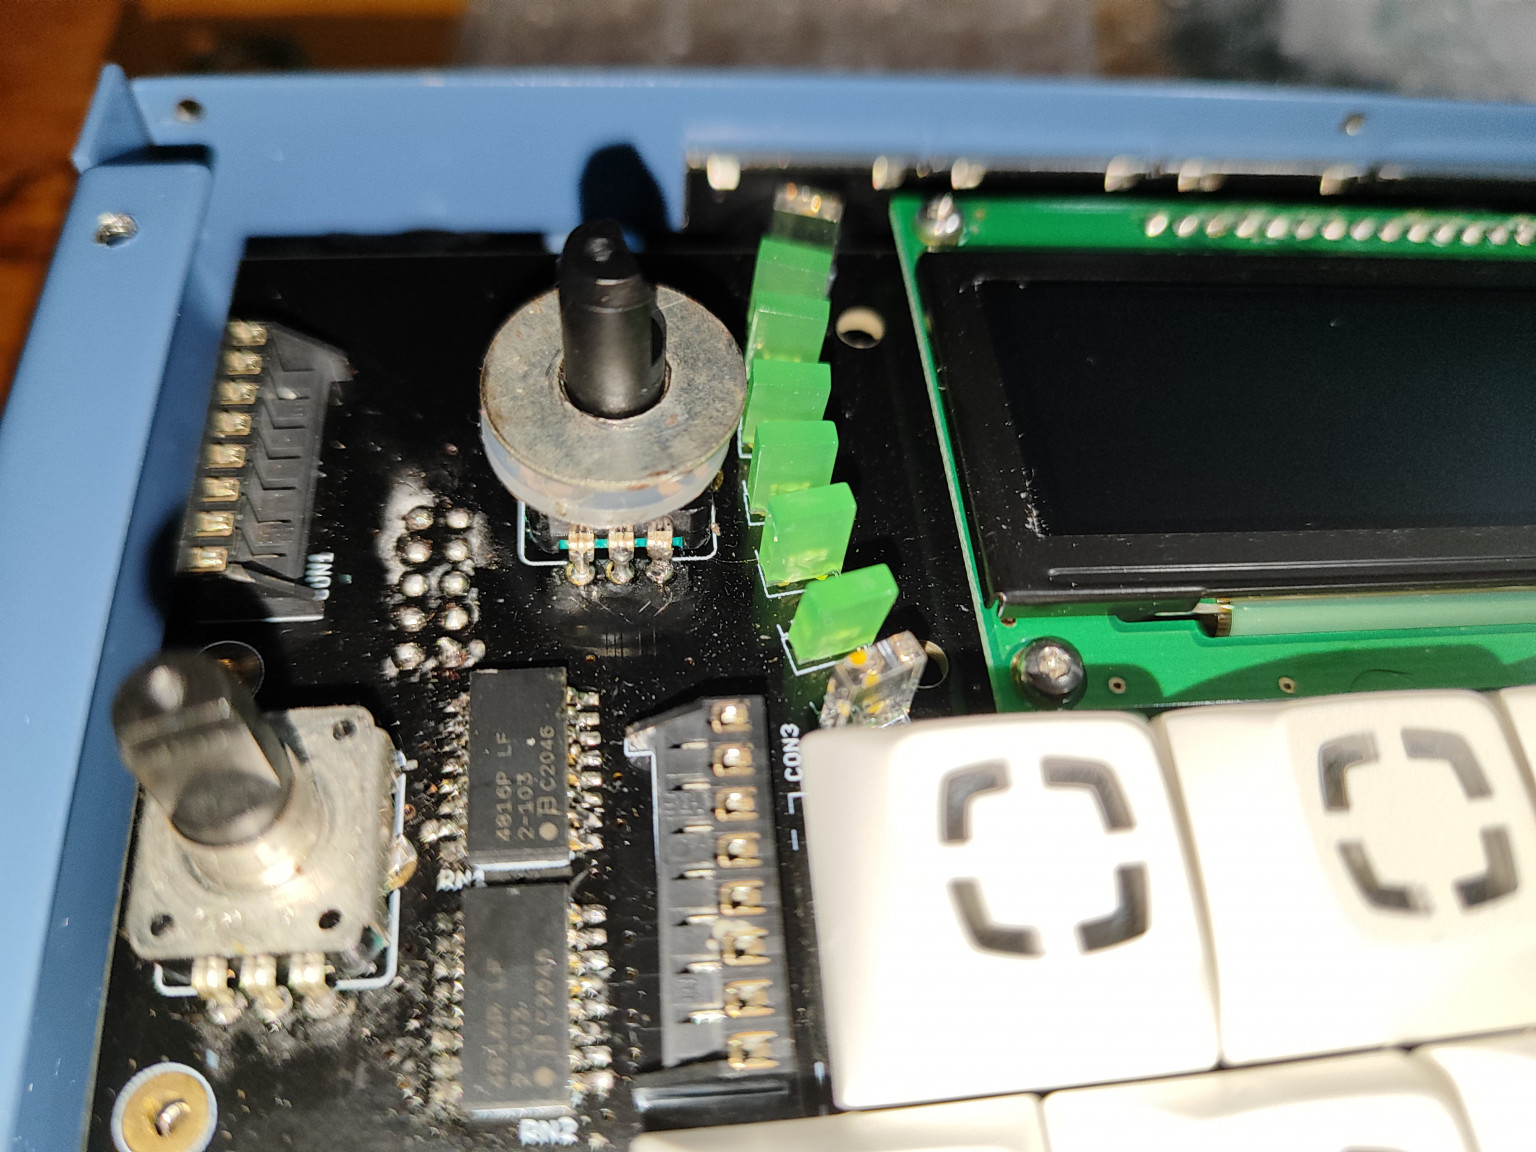
    b) the more advanced way: snip off the broken encoders at their pins - remove the old metal encoder casings. Use desoldering braid to completely clean the PCB pins where the encoders go, there should be no solder residues remaining. Then push in replacement encoders and top-solder their five pins. No need to bottom-solder everything. This works without disassembling your LoopA any further.

    I’d go for b) without second thought, if you’re a beginner to soldering, i’d really recommend to obtain some training material (i.e. broken appliances with encoders or pots - and to use them to learn to desolder them first: snip off their pins, then clean up the PCBs with good desoldering braid and a vacuum pump - once you feel confident, you can easily do the same thing with your LoopA). Alternatively you could contact one of the Trusted Builders or ask someone you know who does DIY builds.

    Good luck and best regards,
    Peter

    Some encoders can be disassembled without desoldering as well - by bending the case retaining lugs… so you may be able to remove and replace the innards… but it can leave them sloppy and unreliable… desoldering will give the best, longest lasting results but you may possibly be able to bodge it….

    Ouch indeed, if it was damaged in the post, maybe there’s some sort of insurance for it? The top-soldering method B would definitely be less work than separating the PCBs again, but I really wonder if that is doable for EN3, as the through board connector CON2 is probably too close to work on the encoder pins there.

    Option C: salvage the metal case and core PCB but redo the upper two boards. Fresh PCBs are easier to work with than a lot of desoldering. I’m not sure how easy it would be to remove the display, so possibly that needs replacement as well.

    Thank you all for the advice!
    Was absolutely gutted seeing it all bashed up when I opened the parcel.
    I was in 2 minds to ask for a refund & return it but I have been after one of these for years in the UK & I don’t see many for sale, so thought i’d keep it & bring it back up to full health.

    I come across quite a lot of broken electrical equipment at work randomly, so will grab a few bits n pieces to practice on before attempting anything.
    I’ll also watch a few tutorials & of course the LoopA build video to familiarise myself with the insides of this little beast!
    Thanks once again everyone I will pop back here & update the thread once I know what I’m gonna do.
    Cheers 👍

    Quick update,
    I went for forestcaver idea.
    I managed to snip around the outter casings of both broken encoders on the LoopA & then gently wiggle them off. I replaced the plastic encoder part with the new ones that had arrived today in the post.
    I ended up snipping around the outter casings of the new ones so that they are more like a washer without the clasps as I don’t think I would of been able to get them back under & sit tight to the encoders.
    I also used 2 individual washers on each encoder to raise the height a little to keep both encoders in place once the LoopA casing was fitted.
    This looks to have worked for now obviously the encoders do not have as much bite when turning but they do the job for now.
    I possibly will switch the encoders out once I have practiced enough soldering or maybe go with new boards.
    But for now it seems to have worked! 🙂
    So time for me to get familiar with the unit & see what this beast can do!
    Thank you all once again for the advices much appreciated! 👍


    Write a Reply...